How to install ! XVM/DOS and ! XVM/RSX on SIMH?

We can run ! XVM/DOS and ! XVM/RSX on the SIMH PDP-15 emulator. First, we need to download the ! XVM/RSX and ! XVM/DOS kit.
Downloads
You can download the kit needed from the "SIMH Legacy" website:
Using ! XVM/DOS & ! XVM/RSX
If you have not already installed SIMH PDP-15 emulator, see the VirtualHub Setup tutorial on how to do so on Linux and Windows.
Extract the kit you downloaded. Inside you will find several files. Create a folder somewhere to store the files for this VM and move the files named xvmrsx_rp02.dsk and rpboot.rim into it.
Now we will create a config file for our VM. Create a text file called pdp15.ini with the following content in the VM folder:
set cpu api
set cpu xvm
set ttix lines=5
a ttix 2311
a rp0 xvmrsx_rp02.dsk
l rpboot.rim 77637
run
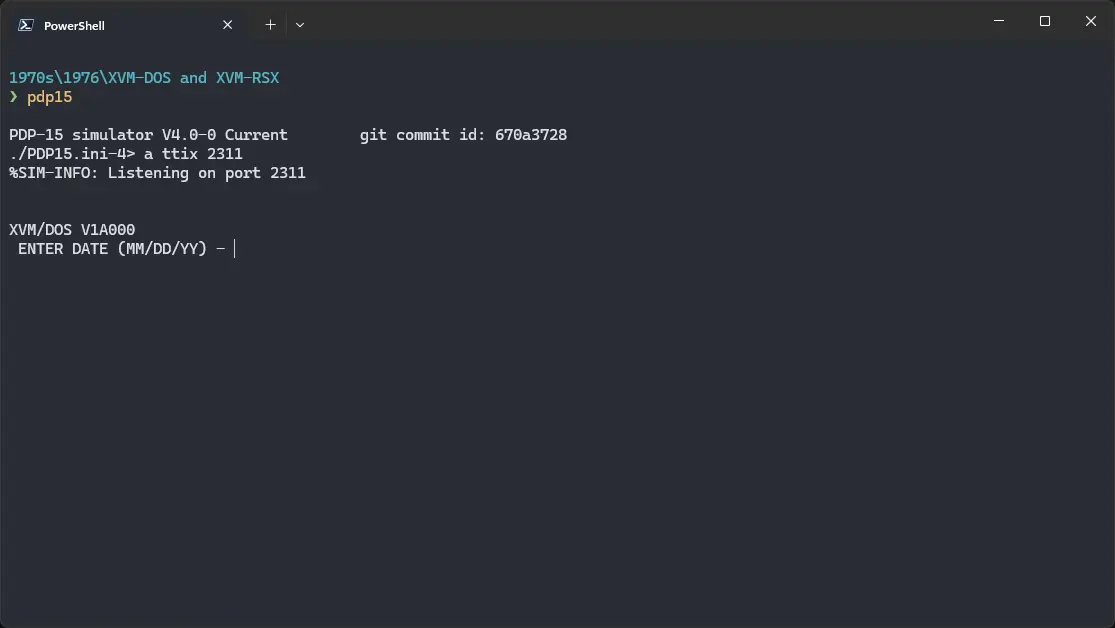
Now open a terminal and move to the VM folder. Run the following command to start the emulator:
pdp15
If you get a prompt asking if you want to allow network access, click on yes. On Linux, you may want to run the above command with sudo or as root, for it to work properlly.

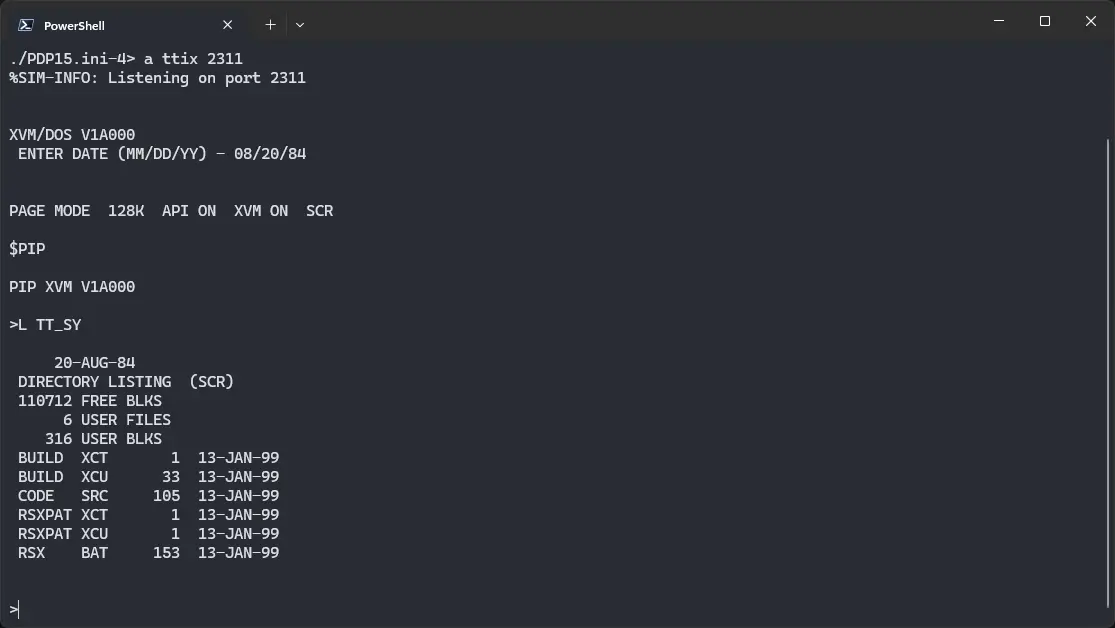
When asked for a date, enter it in MM/DD/YY format. You cannot use backspace to erase characters, even if it looks like you can. Try entering a date from 1980s or 90s, to avoid any problems.
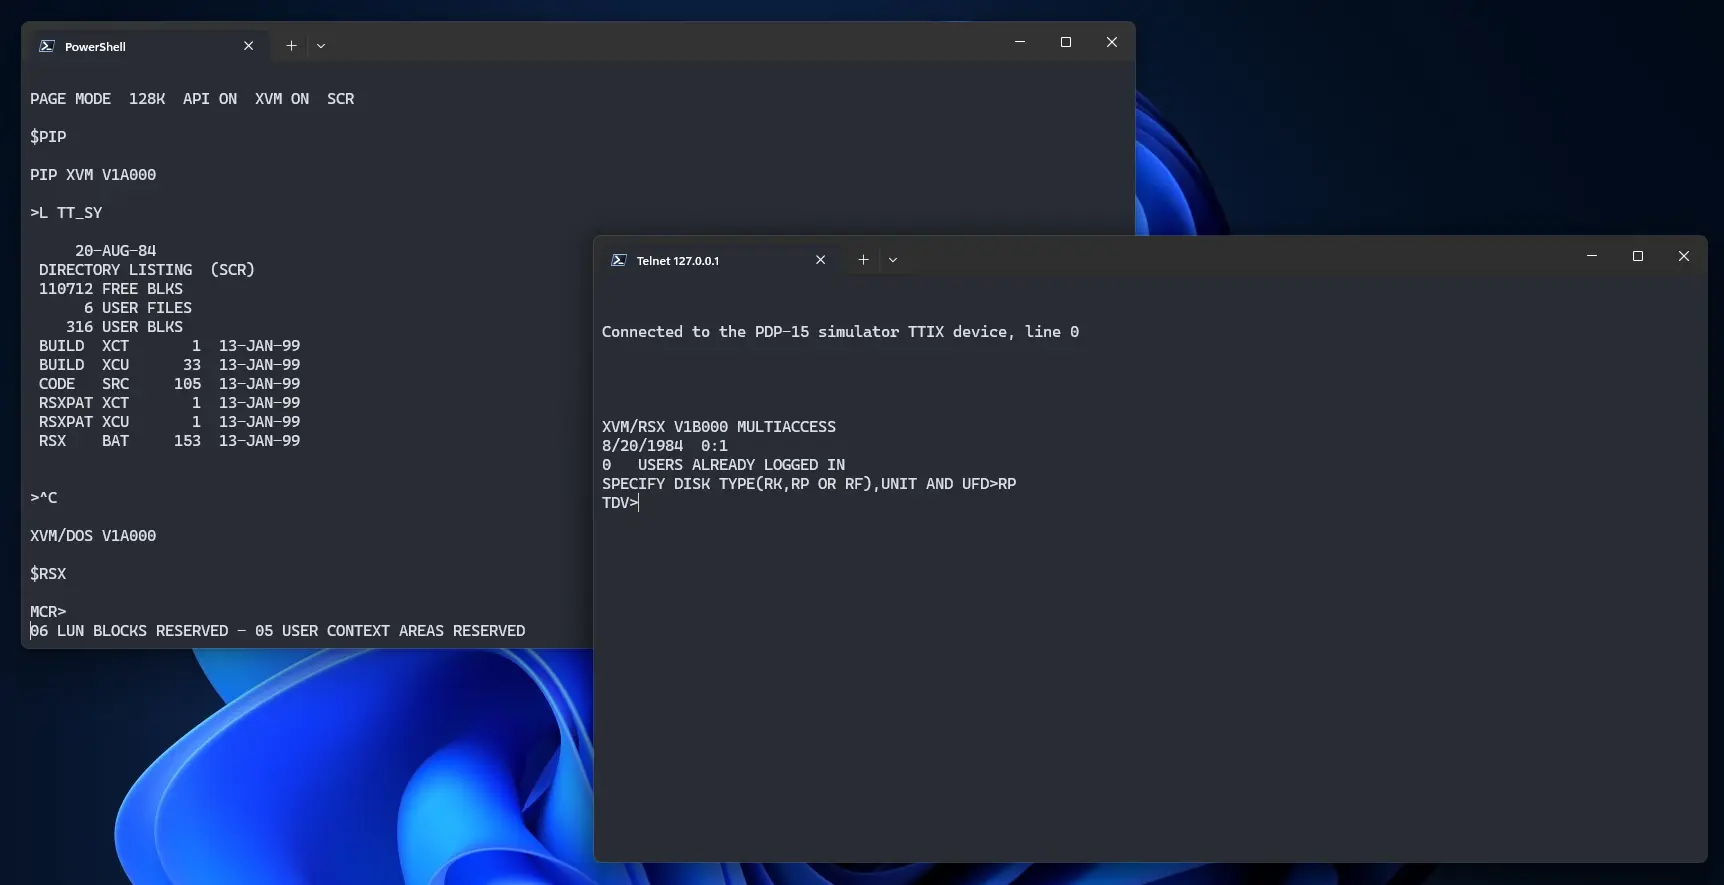
Now that ! XVM/DOS is ready, let's run some commands on it. Type PIP and press enter to start PIP. Then run L TT_SY to see the list of files.

That's it! We used ! XVM/DOS. Now, to run ! XVM/RSX, we first need to close PIP. Do so by pressing Ctrl + C. Then run RSX to start ! XVM/RSX.
Telnet client may not be installed by default depending on your host operating system. You can install it by following this VirtualHub Setup tutorial.
To connect to ! XVM/RSX, we need to use telnet. Run telnet 127.0.0.1 2311 in a new terminal window, and then press Ctrl + T. When asked for disk type, enter RP and press enter. You will be connected to ! XVM/RSX.

That's it, we used ! XVM/RSX. To stop the VM, go back to the main terminal window, and press Ctrl + E. Then type exit and press enter. We can create a shell script to make it easy to launch the VM.
Linux
Create a file called xvm-dos-rsx.sh with the following content:
#!/bin/bash
pdp15
Now make the file executable:
chmod +x xvm-dos-rsx.sh
Now you can start the VM using the shell script. For example, on KDE you can right-click the file and choose Run in Konsole or on GNOME, where you can right-click the file and choose Run as executable. The VM will start.
See the manuals section on the main ! ! XVM/DOS and ! XVM/RSX page to learn how to use them.
Windows
Create a file called xvm-dos-rsx.bat with the following content:
pdp15
Now you can start the VM by double-clicking the shell script. See the manuals section on the main ! XVM/DOS and ! XVM/RSX page to learn how to use it.
Credits
- The disk image and other files used above are from a kit available on SimH “Classic” website.
Video tutorial
Do you want to follow the tutorial by watching a video? We will post a video on our YouTube channel soon.
Archives of this tutorial are available on Wayback Machine.
